WHAT IS RISO?
The Riso was invented in the 1980’s in Japan as a solution to the high import costs of other inks. Initially, the Riso was used in institutional settings such as churches, schools, and offices. Its efficiency in producing high volumes of printed material made it a cost-effective and reliable choice for these environments.
Because of the Riso’s unique capabilities, it caught the attention of artists and designers, leading to its adoption as a creative tool. They recognized its potential for creating intense visuals with a distinct aesthetic appeal. Due to its DIY nature, the Riso has also been a useful tool for artists and activists alike to be able to distribute important information throughout their communities.
A Risograph is a digital-duplicator that uses unique printing processes that merge the vibe of screen printing with the ease of photocopying. It prints individual colours layer by layer to create one-of-a-kind prints.


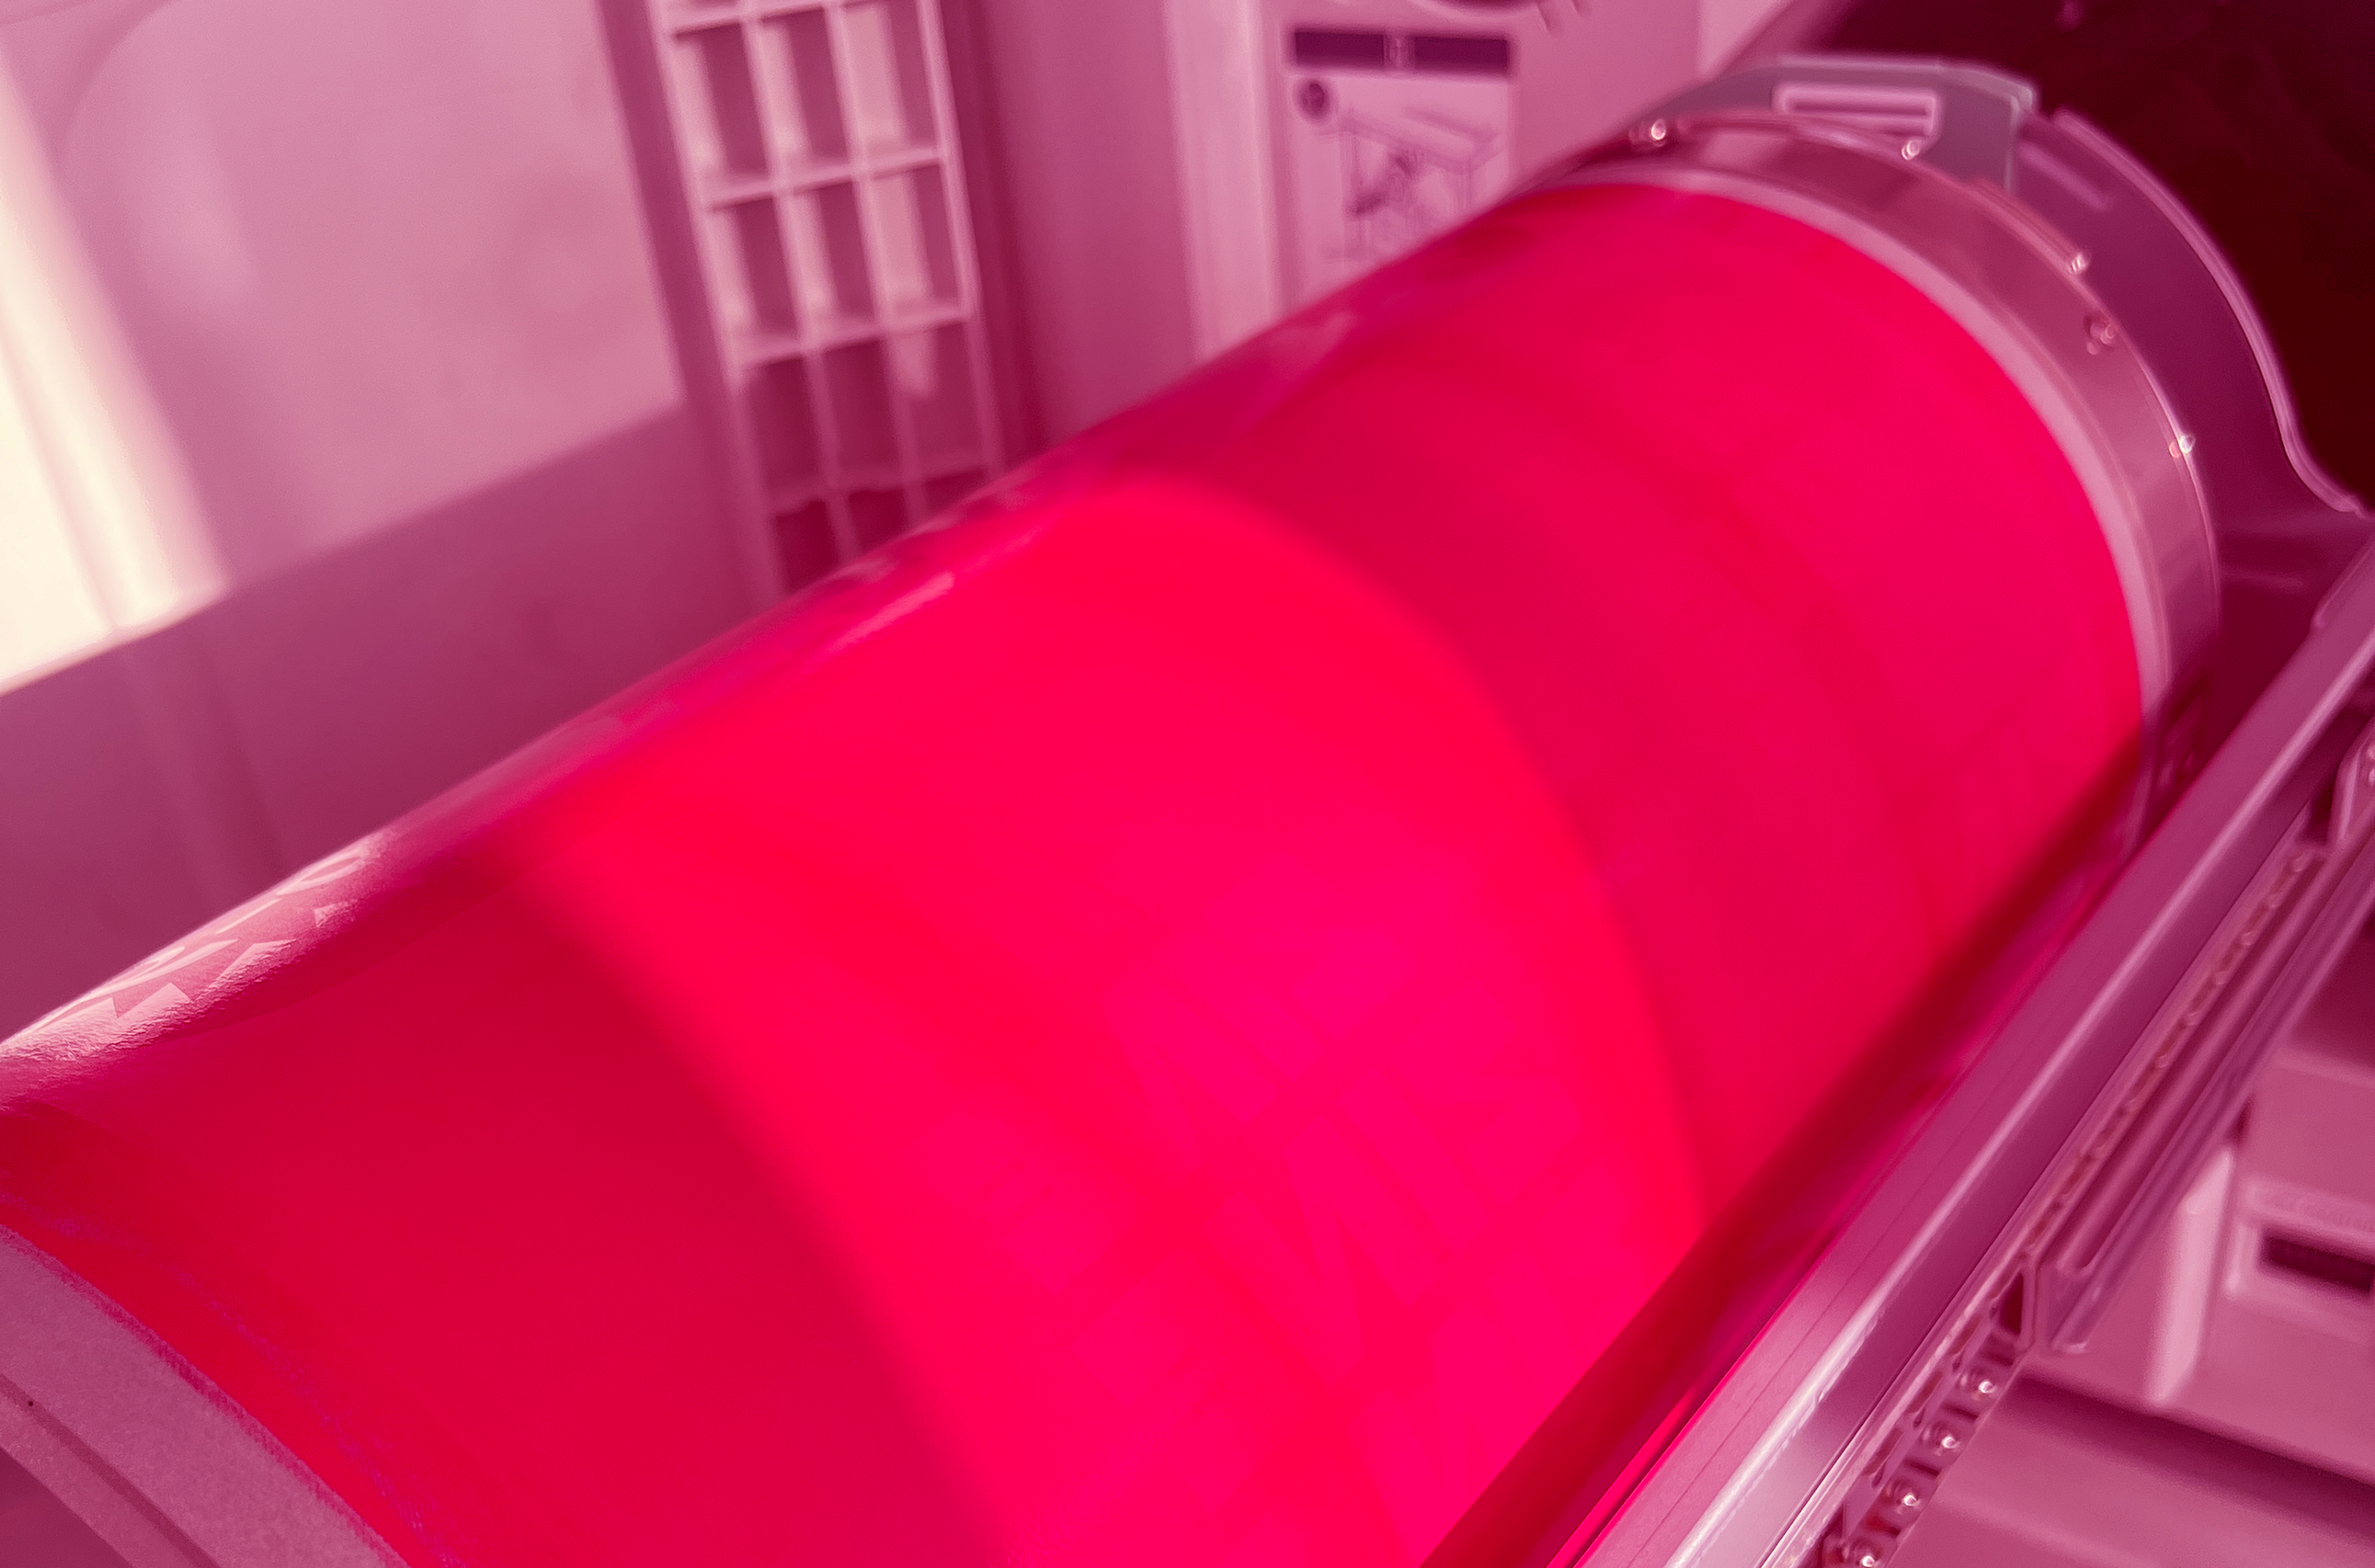
this is betty
Betty is the name of the resident Riso printer at Steph Ford Studio. She is a RZ1090u model that was adopted from a church in 2022 and is now the star of the show!
Betty is a single-drum printer which means she only prints one colour at a time. To print multiple colours the paper will have to be passed through the machine multiple times.
Betty handles all the print jobs and DIY printing in the studio and since she can be slightly temperamental at times, it’s best to work with her as a collaborator. She knows better than us all.
HOW DOES IT WORK?
The process of creating prints with a Riso involves several steps. Firstly, your artwork is transformed into a bitmap image, which serves as a master stencil. This stencil is then burnt onto a sheet made from plant-based fibres and wrapped around the ink drum. As the paper is fed into the machine, the ink drum rotates at a high speed, pushing out plant-based ink and transferring it onto the paper, resulting in a print.
For multi-colour or double-sided artworks, the same paper needs to go through the machine multiple times. Each pass requires switching out the ink drum and creating a new master stencil. It's important to note that between each pass, it is key to allow time for the ink to dry. Drying time typically ranges from 1 hour to 1 day depending on the density of the ink coverage. Allowing sufficient time for the ink to dry and settle before running the paper through the machine again helps to prevent unwanted smudging and ensures cleaner prints.


the Riso uses pre-formulated inks which allows for unique and vivid colours you can’t replicate at home

what is Riso good for
Art Prints
Zines
Posters
Stationary
Stickers
Business Cards
And more!
what is Riso bad for
One-off prints:
Riso’s power lives in its ability to print large volumes at high speeds and low costs. So print a few more and send them out with your Christmas cards or something.
Things that require consistency
and accuracy:Mis-alignment and colour variation come with the territory of Riso printing. While we try our best to make sure things come out as close to perfect as we can, ultimately the final decisions lie with the Riso Gods.
RISO QUIRKS

misregistration
Since we’re printing one colour at a time, it’s difficult to ensure each colour lines up perfectly. Colour trapping and adding bleed are the best ways to minimize the effects of misregistration and minor adjustments can be made to the drum placement during printing but at the end of the day, this is part of Riso's signature look and it’s best to embrace it!
roller marks
You may notice occasional marks or smudges on your prints, especially when there is extensive ink coverage on both sides of the paper. The good news is that most of these marks can be easily removed with an eraser.

Smudging!
Riso ink stays wet, kind of forever. It is common for a thin layer of ink to remain on the surface of the paper, even after it has dried. This residual ink may not be fully absorbed and can smudge if handled excessively. Handling your prints with care is advised to avoid any unwanted smudging or smearing.
Large areas of solid colour
When printing large areas of solid colour, it’s recommended that you reduce the opacity to around 80%. You will still get the full effect of the colour and this prevents the paper from sticking to the drum and causing potential complications. It is also worth noting that there will be variations in the colour as the ink doesn’t print evenly over the page.
